> ## Documentation Index
> Fetch the complete documentation index at: https://docs.ogify.dev/llms.txt
> Use this file to discover all available pages before exploring further.
# Quickstart
> Start generating your first Open Graph image in minutes
## Installation
Choose your package manager and run the following command:
```bash npm theme={null}
npm install @ogify/core @ogify/templates
```
```bash pnpm theme={null}
pnpm add @ogify/core @ogify/templates
```
```bash yarn theme={null}
yarn add @ogify/core @ogify/templates
```
## Quick Start
This guide will walk you through generating your first Open Graph image using OGify.
OGify comes with a set of ready-to-use templates. For this guide, we'll use the `basic` template. Browse all available templates at the [Template Gallery](https://ogify.dev/templates).
```typescript theme={null}
import template from '@ogify/templates/basic';
import type { TemplateParams } from '@ogify/templates/basic';
```
The renderer is responsible for orchestrating the generation process. Create it by passing your templates to `createRenderer`.
```typescript theme={null}
import { createRenderer } from '@ogify/core';
const renderer = createRenderer<{ basic: TemplateParams }>({
templates: { basic: template },
// Optional: Shared parameters across all templates
sharedParams: {
brandName: 'My Brand',
brandLogo: 'https://ogify.dev/white-logo.svg',
}
});
```
Now you can generate an image by calling `renderToImage`. This returns a PNG buffer that you can serve in your response or save to disk.
```typescript theme={null}
const imageBuffer = await renderer.renderToImage('basic', {
title: 'Hello World',
subtitle: 'My first dynamically generated OG image',
layout: 'aligned',
cta: 'Read More',
primaryColor: '#000000',
extras: ['#zero-config', '#production-ready'],
});
```
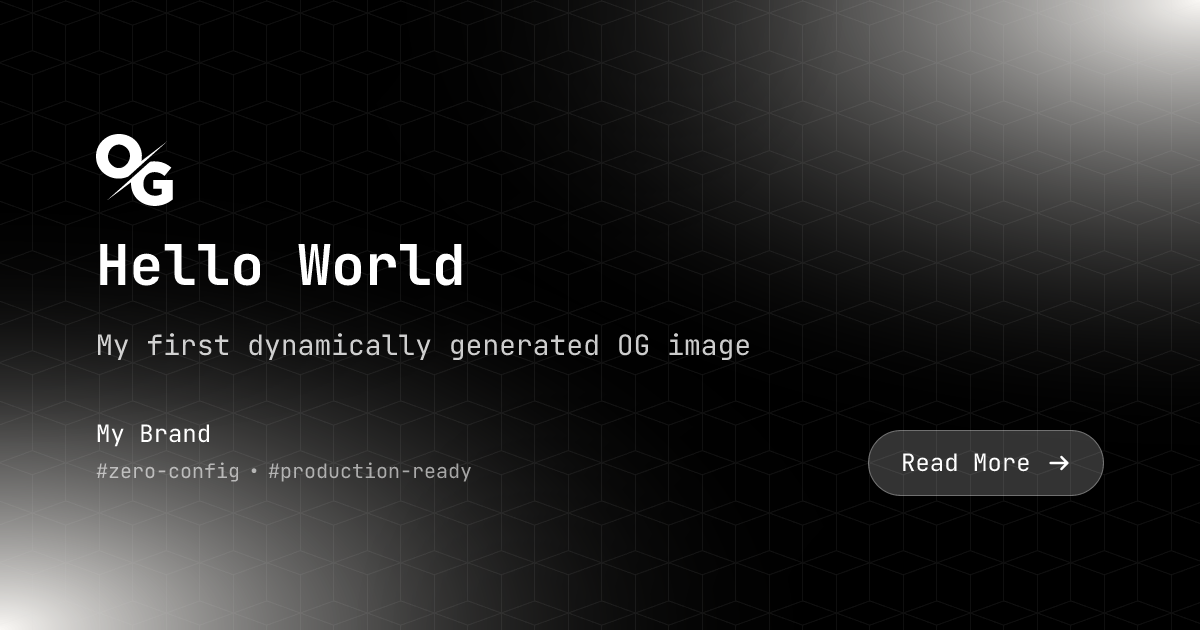 You can save the image to a file or return it as a response.
```typescript theme={null}
import { writeFile } from 'node:fs/promises';
await writeFile('output.png', imageBuffer);
```
```typescript theme={null}
return new Response(imageBuffer, {
headers: {
'Content-Type': 'image/png',
},
});
```
You can save the image to a file or return it as a response.
```typescript theme={null}
import { writeFile } from 'node:fs/promises';
await writeFile('output.png', imageBuffer);
```
```typescript theme={null}
return new Response(imageBuffer, {
headers: {
'Content-Type': 'image/png',
},
});
```